6-Step Guide to Patching Drywall Holes for a Seamless Finish
Patch It Like a Pro: Seamless Drywall in 6 Steps
Repair drywall like a PRO: one small hole can let pests and moisture in, yet you can restore a seamless finish fast. This 6-step plan walks you from inspection to paint for reliable, long-lasting results anyone can achieve easily today.
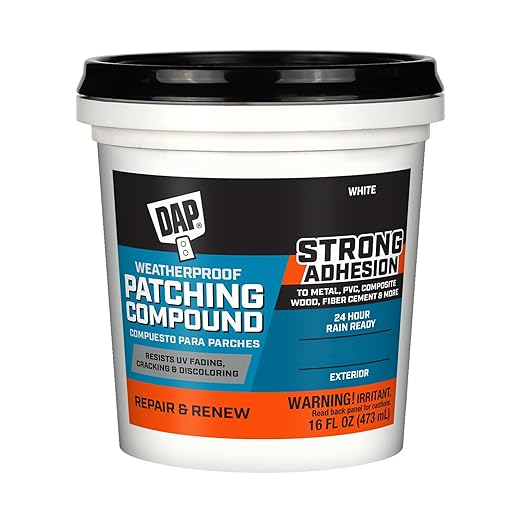
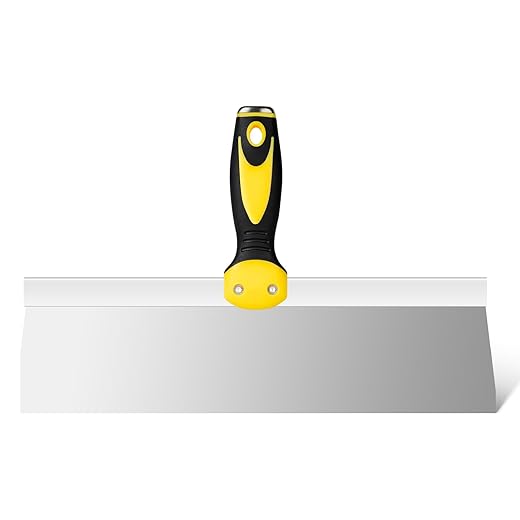
What You'll Need

Step 1 — Assess the Damage
Is it a pinhole or a crater? The first look decides everything.Examine the hole closely. Measure the diameter with a tape or ruler and compare to common examples (nail or picture-hanger hole, doorknob dent, soccer-ball-sized rupture).
Check the paper face and gypsum core for loose paper, crumbling gypsum, or broken edges. Shine a flashlight into the cavity or gently probe with a screwdriver to detect wires, plumbing, or studs behind the opening—stop if you suspect hidden utilities and turn off power before proceeding.
Note the wall finish: smooth, orange-peel, or knockdown texture. Also record the location: near trim, in a corner, or on a load-bearing wall.
Classify the damage to choose a repair method:
Step 2 — Prepare the Area
Clean, cut, and prime — the boring prep saves hours later.Protect the floor and nearby furniture with a drop cloth. Remove loose debris and torn paper. Use a utility knife to square off ragged edges so the patch sits flush.
Widen small holes slightly to create a solid surface—for example, open a picture-hanger hole to about 1/2″ so compound can grip. Cut a neat rectangle for larger damage so a backing or replacement piece fits easily—e.g., trim a 4″×6″ opening for a doorknob dent.
Lightly sand any frayed edges. Clear dust with a vacuum or a damp cloth to ensure good adhesion. Tape off nearby trim or textured areas to avoid accidental damage while you work.

Step 3 — Choose the Right Patch Method
One-size-fits-all is a myth — pick the patch that actually works.Select your repair based on the hole size and wall type. Use the simplest method that gives enough strength and matches texture.
Use spackle or lightweight filler for hairline cracks and tiny dents — apply with a putty knife and sand smooth when dry.
Use self-adhesive mesh patches for small-to-medium holes (up to ~3″) — press flat, skim coat over the mesh.
Use a drywall patch with backing for larger openings: cut a replacement piece and secure it to a backing cleat or metal plate before taping and mudding.
Consider backing options (chapstick-sized wooden cleat or drywall clip), match drywall thickness (1/2″ vs 5/8″), and factor in texture blending and strength for your finish.

Step 4 — Apply the Patch
Watch a hole vanish — but technique beats speed every time.Apply the patch using the method you chose. Work deliberately and keep tools clean.
Keep knife strokes flat and feather the compound 2–3 inches beyond the patch edges to reduce sanding later.

Step 5 — Feather and Finish the Joint
Want no visible seams? Master the feathering trick.Apply 2–3 thin coats of joint compound, letting each coat dry fully. Extend each successive coat farther out than the last to create a gradual transition — feather at least 2–4 inches beyond the previous edge.
Sand lightly between coats with a sanding sponge or fine-grit paper. Work gently to remove ridges; avoid over-sanding the paper backing, which will reveal tape and force rework.
If the wall has texture, recreate it while the final coat is tacky or use a texture spray to match the surrounding finish.
Step 6 — Prime, Paint, and Inspect
The invisible reveal — finish like a pro and fool the eye.Seal the repaired area with a stain-blocking primer to equalize porosity and prevent flashing. Use shellac- or oil-based primers (Zinsser BIN, Kilz) for stains; use latex primer for routine patches.
Apply paint in thin, blended coats; feather the paint outward to hide edges. Cut in with a brush, then roll with a short-nap roller. Match the original sheen (flat, eggshell, satin) and test a small swatch; scuff-sand lightly (220 grit) and recoat if needed.

Finish Strong
Follow these six steps patiently and you can make most drywall holes disappear. Try the process, share your before-and-after photos, and inspire others with your professional-looking results today and proudly.


“Finish Strong” — this is basically motivational drywall therapy, right? 😂
Seriously though, who knew plastering tiny holes could feel so satisfying. My cat is now officially jealous of my sanding skills.
Drywall therapy is real. Glad the guide made it fun — cats always unimpressed with human crafts 😂
Great guide — saved me a weekend of guesswork! I followed the 6 steps exactly and my hole patch is basically invisible now.
Tips that helped: use a slightly damp sponge between mud coats and sand with 220 at the end.
Also, don’t rush the feathering step, it really makes the difference. 🙂
Thanks for the feedback, Sarah — glad it worked out! Damp sponging is a pro move for smoothing out edges. If you have a pic, we’d love to see the before/after.
Quick question: in Step 3 the guide mentions multiple patch methods — when is it better to use a backing piece vs a mesh patch for a medium-sized hole (about the size of a grapefruit)?
Agreed on the backing. I used a small scrap of drywall and it held the compound solidly — no bulging after paint.
For grapefruit-sized holes, a backing piece (wood or drywall shim) is usually stronger and gives a flatter finish. Mesh is great for smaller holes or hairline cracks. Backing + a taped joint gives the most seamless result.
I liked the step about feathering — but I had trouble getting a smooth taper. Any advice on technique or tools?
I used a regular 6-inch taping knife but the edge still showed after painting. 😕